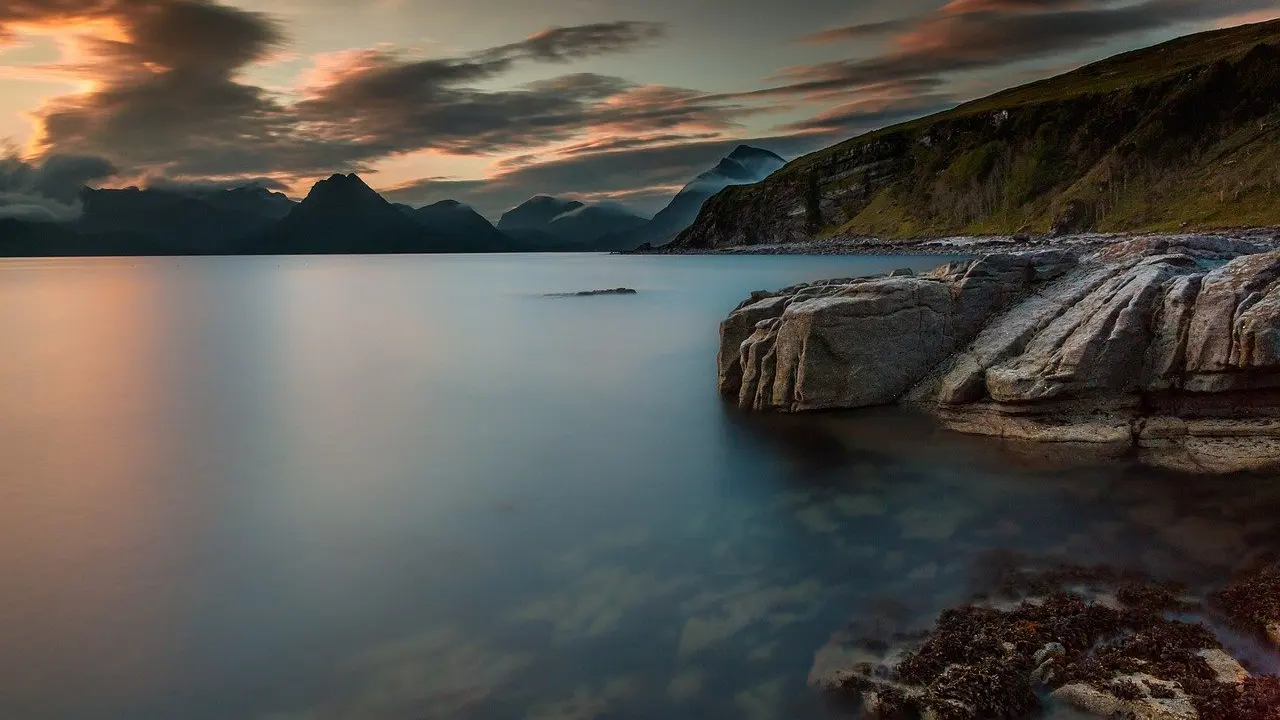
You reach the viewpoint at sunset and the warm light is already fading. These golden hour photography tips prevent that: plan for the first hour after sunrise or last hour before sunset, arrive early, and underexpose slightly.
This guide sits within our wider set of photography tips for blog images, so the advice leans toward practical shots you can publish.
Golden hour myths at a glance
The warm look comes from sun angle. When the sun is low, the harder blue light of midday is filtered out, leaving softer red and gold tones, as ShootMeNow’s headshot guide explains. Most disappointing results come from treating that window as a fixed clock time or from carrying midday habits into low light. The table sets common beliefs against what works.
| Common belief | What works | Planning use |
|---|---|---|
| Golden hour is the same length everywhere | Its length changes with location, season and how close you are to the equator | Check local sunrise and sunset for your date rather than assuming a fixed window |
| Shooting into the sun ruins the shot | Backlighting is particularly effective at golden hour, with the sun slightly off to the side or directly behind the subject | Choose your position around the sun, not away from it |
| Low light means high ISO | ISO 100-400, raised only if needed | Start at the bottom of the range and raise ISO last |
| One aperture suits every scene | f/2.8 to f/4 for portraits with shallow depth of field; f/1.8-f/2.8 for blurry backgrounds; f/8 to f/11 for landscapes | Pick the aperture by subject before you pick the spot |
| Auto white balance always keeps the warmth | Daylight or Shade gives a warmer tone; Daylight keeps true warmth, Auto adds flexibility, Cloudy adds extra warmth | Choose Daylight when you want the scene to look as warm as it felt |
| Soft light allows slow shutter speeds | Around 1/250 s for landscapes with moving details; 1/250 s or faster for people who are moving | Protect shutter speed before anything else when subjects move |
Figures come from Nikon’s guide to golden hour backlighting and ViewBug’s golden hour guide.
Timing: golden hour is a window, not a fixed hour
Golden hour is the first hour of light after the sun rises and the last hour before it sets, as ShootMeNow defines it. ViewBug agrees that it happens right after sunrise and right before sunset, but adds that its length changes with your location and the season. Treat “an hour” as a starting point. A shoot planned around a remembered clock time will often miss the best light.
Arriving early
Photographers who work in this light advise arriving well ahead. ShootMeNow recommends getting to your location at least an hour before you plan to start shooting, which leaves time to scout and settle on a position. For evening portrait work, Embrace Presets suggests scheduling the session 2 hours before sunset. Morning light suits the same approach, with the extra benefit that you can set up before the sun clears the horizon.
Backlight: the light behind your subject is the point
Backlight is the most common thing beginners avoid and the thing golden hour does best. Nikon calls backlighting particularly effective during golden hour, and its guide places the sun slightly off to the side or directly behind the subject. ViewBug notes that shooting into the light can look dreamy, especially with hair or edges.
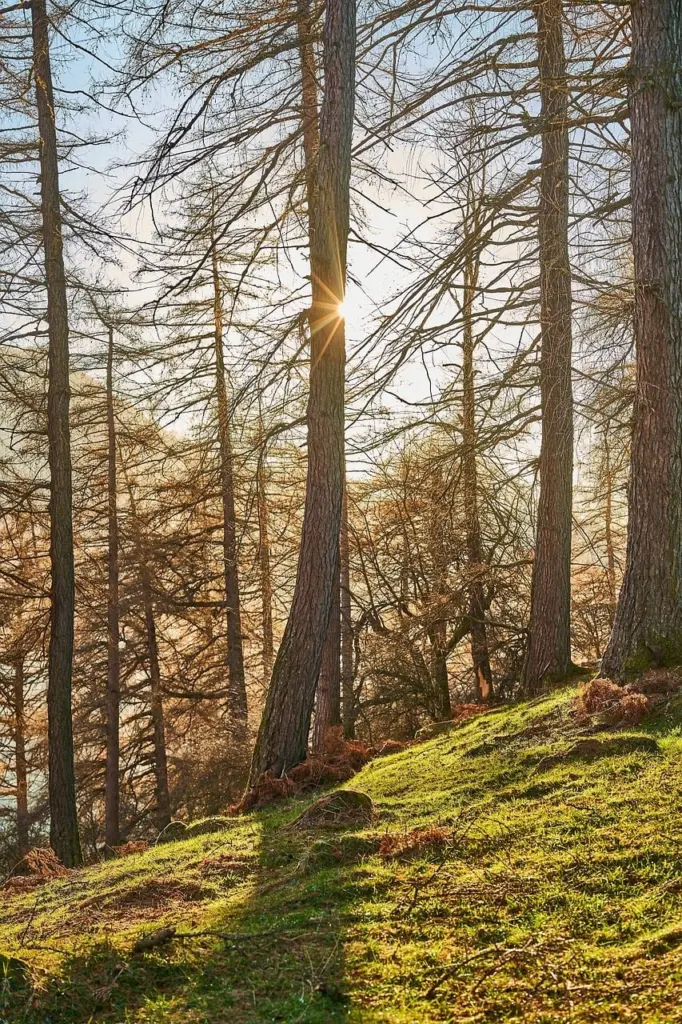
The trade-off is the front of the subject. ShootMeNow warns that the reflection from the sun at this time of day generally is not strong enough to lift the shadows on its own, so a backlit face will read darker than the glowing edges around it. Decide first whether the picture is about the glow or about the face. If it is the glow, accept the darker front. If it is the face, plan to add fill light. Silhouettes sit at the far end of this choice, and Nikon links them with stronger negative exposure compensation.
Lens flare: frame the sun instead of fighting it
The way to avoid lens flare is to keep direct sunlight off the front of the lens, not to stop shooting toward the sun. Nikon recommends framing with foreground elements such as trees, leaves or buildings, which can block direct sunlight from hitting the lens and so reduce flare. A lens hood works toward the same goal by shading the front element, and the two combine well. Move a step sideways until the sun sits behind a trunk or edge, then check the frame again before you shoot.
Placing the sun slightly off to one side, as in Nikon’s backlit set-up, also gives you more ways to arrange the frame than a sun stacked directly behind the subject. Flare is a framing and positioning problem first. Fixing it in camera is more reliable than hoping to repair it afterwards.
Camera settings that work
The settings that work at golden hour are a low ISO, an aperture chosen for the subject, a shutter speed fast enough for movement and a deliberate white balance. The table above gives the ranges, and these steps decide the order in which to use them.
- Work in manual. Nikon says manual mode gives you the most control over your settings, which matters when the light changes by the minute.
- Set white balance first. Embrace Presets puts it at the front of the routine, because every later exposure judgement depends on how warm the preview looks.
- Underexpose slightly. Nikon suggests negative exposure compensation of -1 to -2 EV to avoid overexposure, especially for silhouettes. Embrace Presets reports shooting 1-2 stops underexposed at sunset. Treat that as a range to test, not a target to apply to every scene.
- Match aperture to the job. For people, Embrace Presets uses f/2.8 as its usual setting, and ShootMeNow shoots at around f/2.8 for beautifully textured backgrounds. Landscapes need the narrower apertures in the table instead.
These steps come from Nikon, Embrace Presets and ShootMeNow. Nikon’s own set-up list also covers lens choice, metering and autofocus. The extremes of the ranges are the exception, so begin in the middle and adjust from the histogram and the preview.
Composition and what comes next
Low sun makes long shadows and strong edges, so composition decides whether the light looks intentional. Placing the subject on a thirds line leaves room for the sun and its glow, and How To Use The Rule Of Thirds: Simple Composition Tips To Improve Your Photos Today – Imagesup walks through that placement. Foreground trees or buildings, already useful for flare, also add depth to the frame.
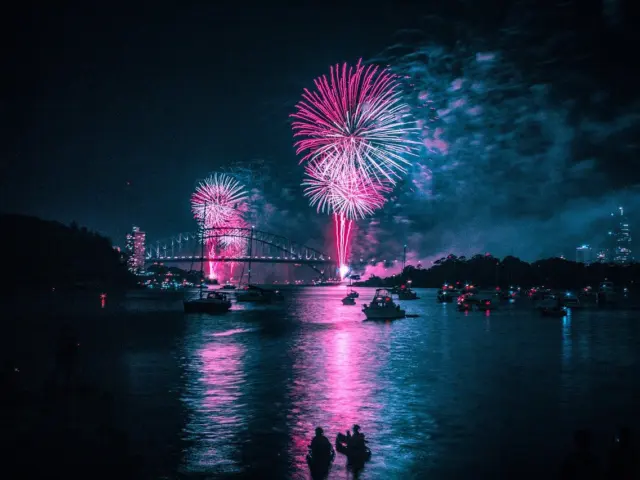
When the sun drops below the horizon and the subject becomes night lights, the exposure rules change. Camera Settings For Fireworks: A Simple 2026 Guide To Crisp, Colorful Shots – Imagesup covers that low-light set-up.
Frequently asked questions
| Question | Answer |
|---|---|
| Does golden hour happen in the morning as well? | Yes. It runs right after sunrise as well as right before sunset, so morning light suits the same techniques as evening light (ViewBug). |
| Is there an easy way to find the exact start and end times? | Free apps can calculate exactly when golden hour starts and ends. ShootMeNow names Blue Hour Calculator for Android and Helios Golden for iOS (ShootMeNow). |
| Should I shoot RAW? | Yes. Nikon advises photographing in RAW to give yourself more flexibility in post-processing (Nikon). |
| What kind of reflector helps with a backlit subject? | Use a reflector to bounce light back onto the front of a subject who faces away from the sun. ShootMeNow uses a silver reflector for contrast in stronger light and a white one for a softer look (ShootMeNow). |