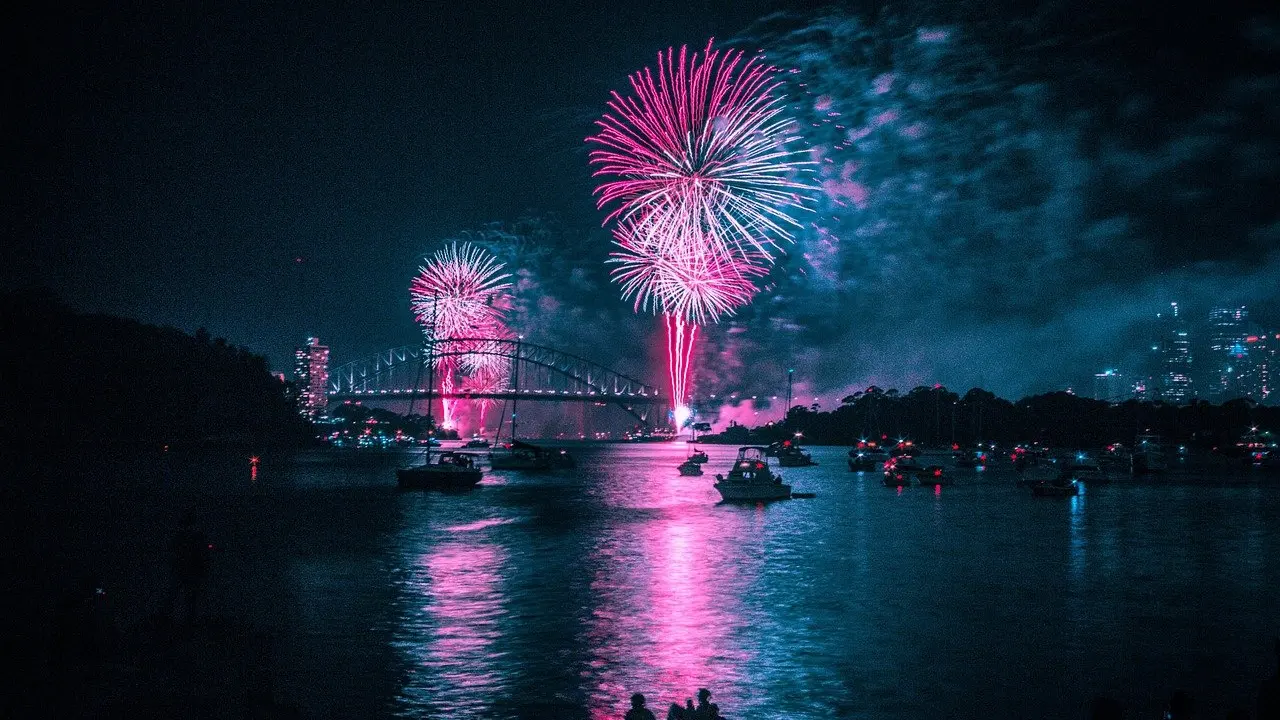
Switch off auto exposure before the show starts. The camera settings for fireworks that work are Manual mode, ISO 100-200, about f/8-f/11, manual focus, a tripod, and a shutter speed starting at 1-2 seconds.
Published recommendations differ on shutter time, so treat these values as starting points. Pictures from the night also suit web galleries, and more on preparing them is in our photography tips for blog images.
Manual mode and starting values
Manual mode is the one setting every source agrees on. Sony’s Alpha Universe guide says to set the camera to Manual mode so you have full control of the settings, and Mimeo likewise says manual mode controls shutter speed, aperture and ISO. When you fix all three yourself, every frame in a sequence is exposed on the same terms, so it is easier to see which single value to change.
For the starting point, Sony suggests a low ISO of 100 or 200, an aperture somewhere around f/8 or f/11, and a shutter speed of 1-2 seconds. The table below sets that against a wider range and the bulb approach, so you can match the setting to the kind of display in front of you.
| Scenario | Shutter speed | Aperture | ISO | Focus | Planning use |
|---|---|---|---|---|---|
| Cautious starting point for single bursts | 1-2 seconds | f/8 or f/11 | 100 or 200 | Manual, set before the show | Use for your opening frames, then adjust from what the screen shows. |
| Typical range for fuller bursts | 2-10 seconds | f/8 to f/11 | 100-200 | Manual, set before the show | Treat as the outer range photographers commonly use, not a target to aim for. |
| Several bursts layered into one frame | Bulb, shutter held open across bursts | f/8 to f/11 | 100-200 | Manual, set before the show | Suits a remote release and a lens you can briefly cover between explosions. |
Figures come from Sony’s Alpha Universe fireworks guide and The Shutterbug’s fireworks guide.
Shutter speed and bulb mode
No single shutter speed is best for fireworks, because the value depends on how much of each burst you want to record. The recommendations overlap rather than conflict, and they read best as a ladder:
- Short start. Sony suggests a brief exposure as a good starting point for photographing fireworks. Choose it when you want to see how the first frames look before committing to longer times.
- Middle ground. Mimeo says a long exposure of 2-5 seconds captures the full burst of the firework. This suits shows where bursts are separated by pauses.
- Wide range. The Shutterbug says shutter speeds usually fall between 2 and 10 seconds. The long end is a ceiling that marks how far people go, not a setting to begin with.
A practical approach follows from this. Begin at Sony’s shorter figure, check the back of the camera, and move toward the longer times when you want more of each burst to register.
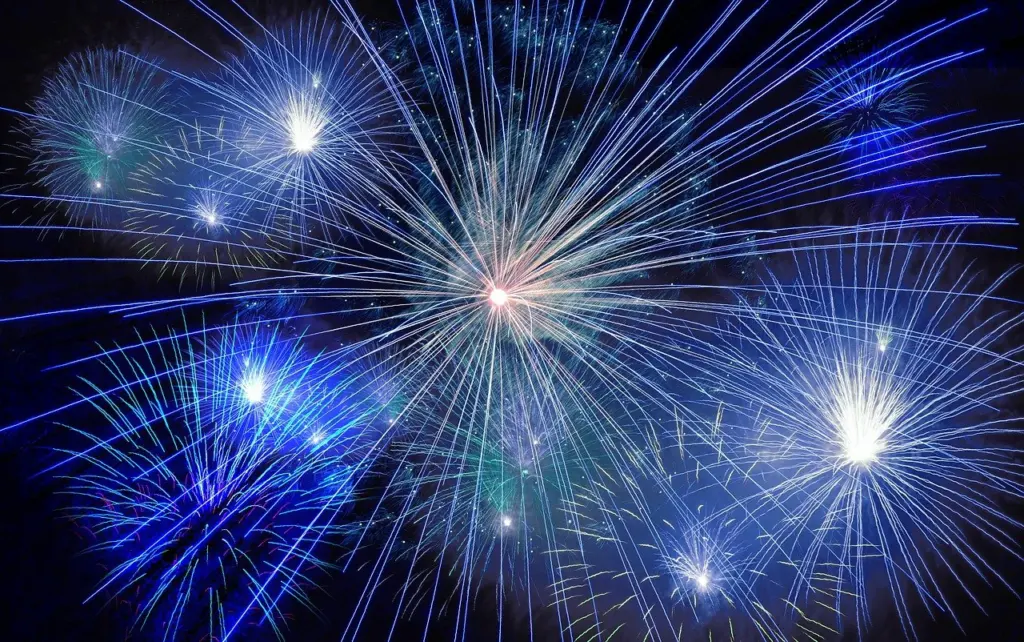
When bulb mode earns its place
Bulb mode is the answer when no preset time fits the show. Mimeo describes it as letting you keep the shutter open as long as you hold the button, and another photographer’s write-up puts it simply: the bulb setting lets your finger decide the shutter speed.
The Shutterbug adds the layering technique: open the shutter for multiple bursts and briefly cover the lens between explosions. That builds a denser picture in one frame without forcing the whole exposure to run on a single timer. Choose bulb when you are shooting from a locked-down tripod and can trigger the shutter without touching the camera. Stay with a timed exposure if you would rather concentrate on watching the show.
ISO and aperture
The ISO to use is a low one. A common assumption is that a dark sky calls for a high ISO, but every source in this guide points the other way. Mimeo says to keep ISO low, at 100-200, to avoid grainy photos, and The Shutterbug notes that a low ISO keeps noise to a minimum and preserves rich color. Sony frames it as a starting point rather than a rule: begin at 100 or 200 and adjust from there.
The reason to resist raising it is the trade-off. A higher ISO gives the sensor more sensitivity, but the trade-off is more grain to the image. Because fireworks are bright against a dark sky and the shutter can stay open for seconds, a low ISO rarely leaves you short of light. If frames look too dark, lengthening the shutter time or using the lower end of the aperture range is a cleaner fix than a higher ISO.
For aperture, apertures in the f/8 to f/11 range work well to maintain detail without blowing out highlights, according to The Shutterbug. Mimeo gives the same range as a balanced exposure, and Sony names f/8 or f/11 as its starting aperture. When three sources agree on a range, you can set it and spend your attention on shutter time instead.
Focus without autofocus
Autofocus is the wrong tool for fireworks, so the answer is no for most shooters. Mimeo says manual focus works best to keep the fireworks sharp. Bursts appear suddenly against a dark sky and vanish, which gives a camera little stable to lock onto, so settle focus before anything is in the air.
The Shutterbug’s method is to focus on a distant light or building before the show begins and leave it there. That works well once you have found a bright point to use and switched the lens to manual.
Aperture also helps. The larger the depth of field, the more chance there is of your fireworks being in focus, which is one more reason the f/8 to f/11 range is a sensible default. Pre-focusing and a narrow aperture work together, and neither depends on how the show unfolds.
Tripod and remote shutter
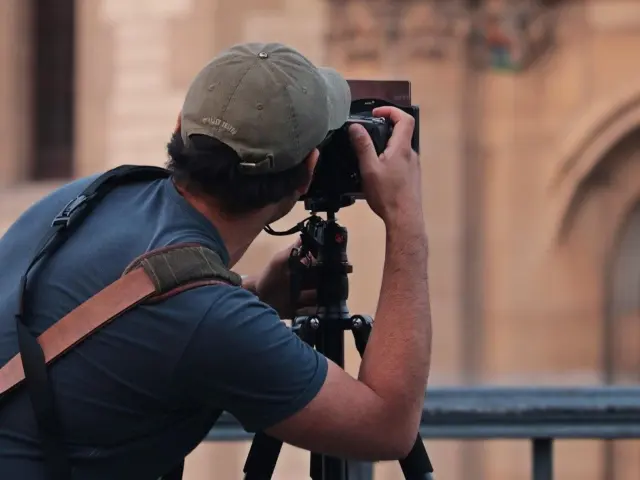
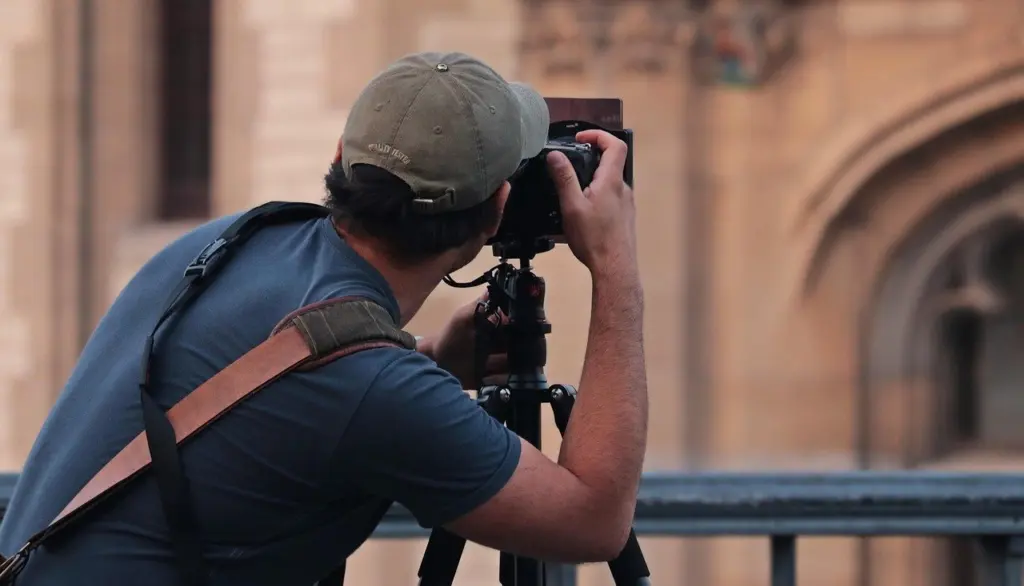
Every source treats the tripod as non-negotiable once exposures run to seconds. Mimeo says a sturdy tripod is a must for long exposure photography, The Shutterbug calls it essential, and the bulb-mode write-up warns that with long shutter times you are bound to get camera shake if the camera is not stable. A higher ISO cannot rescue a shaken frame in the way a shorter shutter might, so the support matters more than any dial.
Sony adds the other half of the setup: a remote shutter release connected to the camera, so you can step away and then trigger the shutter. It also means your hands stay off the body during the exposure, which matters most in bulb mode.
A bulb-mode test to adapt
The bulb-mode write-up lists one photographer’s test settings: ISO 200, aperture f/10, and bulb for shutter speed. They sit inside the ranges in the table above, which makes them a sensible template if you want to try bulb on a first outing. Treat them as one worked example rather than a universal recipe, since the display, distance and lens will shift what looks right.
The same write-up reminds readers that to set a camera to the bulb setting, you may have to look at the camera’s manual. Settle that before dark, because menu hunting in the crowd costs you the opening bursts.
Repeatable settings are useful beyond fireworks. If you work with still subjects and want consistent frames across a set, the approach in 360 Product Photography: How To Create Interactive Product Spins That Convert In 2026 – Imagesup applies the same discipline of fixing exposure and keeping the camera steady. For a subject that depends on the quality of light at a different time of day, Golden Hour Photography: 12 Pro Tips To Capture Dreamy Light Every Time – Imagesup covers a very different setup.
Frequently asked questions
| Question | Answer |
|---|---|
| Can I use the self-timer instead of a remote shutter? | Yes. The Shutterbug says a remote shutter release or camera self-timer will help keep your images sharp. A remote is more flexible for bulb mode, because it lets you control when the shutter opens and closes. |
| Where do I find bulb mode on my camera? | The location varies by camera, so check the camera manual for the bulb setting before the show. |
| Where should I put the tripod? | Sony advises a stable tripod in a safe place where it won’t be bumped, so choose a spot away from foot traffic. |
| Should I raise ISO if the frames look too dark? | Make small changes. Sony says to start at 100 or 200 and adjust from there, but a higher ISO adds grain, so try a longer shutter time first. |