| Situation | Supported effect | Planning use |
|---|---|---|
| Indoors by a window | Stand beside a window, never in front of it | Position yourself at the side of the window before you set up the camera. |
| Outdoors at midday | Shade is the recommended place to shoot | Move into shade before you start taking frames. |
| Outdoors at golden hours | 1 hour after sunrise and 1 hour before sunset | Schedule outdoor sessions inside those windows when you can. |
| Camera height | Slightly above eye level shows the jaw line and widens the eyes | Raise the phone or camera a little rather than shooting level or from below. |
| Lens choice | A wide-angle lens distorts faces | Avoid wide angle; use a 1 – 2x crop and stand back if possible. |
| Pressing the shutter | There is always some shutter shake when the button is pressed | Trigger the shot with a remote, timer, watch control or voice shutter instead. |
The advice in this table comes from Solo Traveler World’s selfie guide and Light Stalking’s article on remote shutter releases.
Here is how to take good photos of yourself: stand beside a window or in shade, steady the camera on a tripod or makeshift stand, trigger it with a timer or remote, and keep only the best frames.
Portraits of yourself are one part of the wider set of photography tips for blog images, and the same habits of light, framing and stability carry over to other pictures you publish.
Lighting that flatters
Soft natural light that reaches your face from the side is the most dependable answer to what lighting flatters. The choice of where you stand matters more than any equipment, and it comes down to a window indoors or the time of day and shade outdoors.
Indoors beside a window
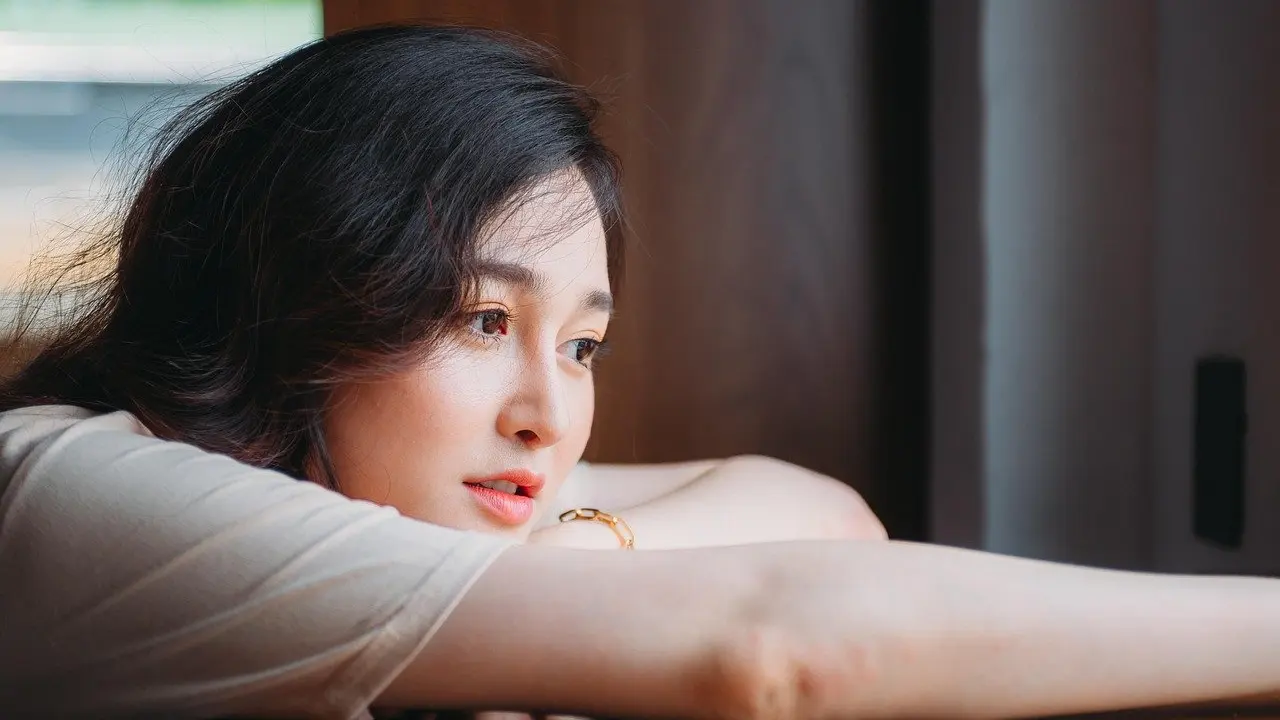
Solo Traveler World’s selfie guide advises standing beside a window, never in front of it. The practical result is that the window becomes a side light for your face instead of a bright background behind it. Turn your face a little toward the glass and check the preview before committing to a spot.
Outdoors: golden hours and shade
The same guide defines the golden hours as 1 hour after sunrise and 1 hour before sunset, and recommends them for flattering light. If you can only shoot at midday, find some shade rather than standing in open sun.
- Choose golden hours when you control the schedule and want the most flattering outdoor light.
- Choose shade when the session is stuck in the middle of the day.
- Choose a window when the weather or time of day rules out outdoor work.

Camera, lens and framing
Where the lens sits and how much of the scene it takes in change how your face looks more than any filter. Framing choices are cheap to fix at the moment of shooting and hard to repair afterwards.
Which camera and lens
Solo Traveler World notes that the rear camera on a phone produces better quality photos, so use it when possible. If you do use the front camera, do not look at yourself on the screen; look at the lens. Avoid the wide-angle lens, which distorts faces, and use a 1 – 2x crop while standing back if possible.
Height, angle and background
Angle the camera from slightly above eye level, which the guide links to a more defined jaw line and wider eyes. Turn your head on a slight angle with your forehead slightly toward the lens. Then scan the area above and behind you: the guide warns against objects such as smokestacks or flowerpots positioned above and behind you, because they appear to sprout from your head.
A remote release also loosens framing. Light Stalking says it allows more compositional freedom, since you are no longer tied to arm’s length from the camera. To decide where to place your face in the frame, How To Use The Rule Of Thirds: Simple Composition Tips To Improve Your Photos Today – Imagesup explains the grid, and the broader photo composition techniques show how that placement works on a web page.
Stability: tripod, timer and remote shutter
A steady camera that you do not touch at the moment of exposure gives sharper pictures and lets you step into the frame. The reason is mechanical: Light Stalking states that when the camera’s shutter is pressed, there is always some shutter shake.
Holding the camera still
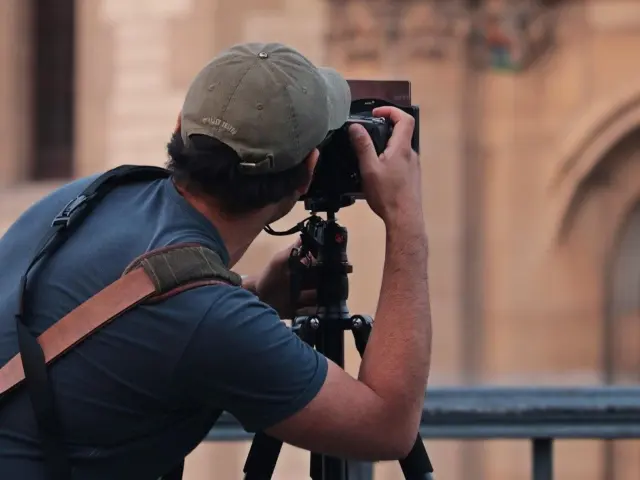
A tripod is the obvious support, and Marie-Pierre Photography’s advice on liking yourself more in photos accepts a pile of books or a makeshift tripod as long as the camera or phone stays put. Once the camera is fixed, you can pose, move and adjust the light without re-framing.
Timer or remote
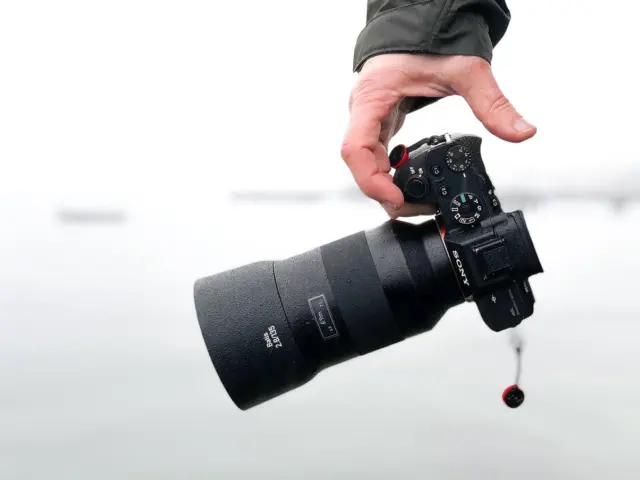
Solo Traveler World says self-shooting is easier with a timer, watch control or voice shutter. Marie-Pierre Photography goes a step further: a remote control, or an interval meter set in your camera, is even better than a plain timer, because you can keep shooting without running back to the camera. Light Stalking calls a remote release an easy and inexpensive way to immediately improve image quality.
The type of remote affects what you can use it with:
- Cable remote: needs no batteries, which improves reliability, but different cameras have different plug-in requirements, so check yours before buying.
- Wireless remote: convenient, though the unit that attaches to the camera requires a battery.
- Infrared remote: works well in self-portrait situations, but your camera needs an infra-red receiver built into the body.
- Phone alternatives: a watch control or voice shutter can replace a separate remote when your phone supports them.
Posing and expression
To pose naturally, give the camera one clear point of attention and let the rest of your body follow. Looking at the lens, not at the screen, keeps your eyes pointed toward the viewer. Combine that with the slight head turn and a camera just above eye level described earlier.
Solo Traveler World advises sending a big smile into the camera and not being shy about it. A smile held for the timer often looks stiff, so a remote or interval meter that fires repeatedly while you move and relax gives you more natural expressions to choose from.
A repeatable routine with minimal gear
The same order works every time, whether you use a phone and a pile of books or a camera with a remote. Pick the stages below in sequence and adjust only what the preview shows is wrong.
- Choose the light: beside a window, in shade, or in the golden hours.
- Set the lens and height: no wide angle, slightly above eye level.
- Clear the frame of objects above and behind you.
- Fix the camera on its support.
- Select the trigger: remote, interval meter, timer, watch control or voice shutter.
- Angle your head, look at the lens and smile.
- Take multiple photos, choose the best and delete the rest.
Frequently asked questions
Do I need to buy a tripod?
No. Marie-Pierre Photography suggests putting the camera or phone on a pile of books or a makeshift tripod, then triggering it with a timer.
Why do I look different in photos than in the mirror?
You are used to seeing a mirrored version of yourself, not the unflipped version everyone else sees. Marie-Pierre Photography suggests taking lots of photos and looking at them often for short periods so the real version becomes familiar.
Can someone else take the photo instead?
Yes. The same source recommends asking someone to take casual photos of you without looking at the camera, rather than relying on selfies and filters.
How much editing should I do?
Edit lightly. Solo Traveler World warns that over-processing removes the moment from the photo.